How to Set Up a Cybereason Test Environment with Virtual Machine
This post describes how to set up a test environment over a virtual machine (VM) using the Cybereason console.
Alexander Nachaj
This post describes how to set up a test environment over a virtual machine (VM) using the Cybereason console.
Setting Up Your Environment
There are multiple parts to setting up your test environment:
- You need access to a “Cybereason console”. This is essentially a single dashboard where all malware/malop details are located. An example would be the console located at: https://integration.cybereason.net:8443/
- You need a Windows Virtual Machine to simulate malware and malop events. It is important that you do not do this on your host computer, as you may need to cut off all internet connection for a computer using the Cybereason console.
- You need to install the “Cybereason sensor” in the Windows Virtual Machine. The sensor communicates with the console and performs virus/malware scans on the VM.
- You can then generate malware and malop alerts in the VM and see them show up in the console.
Note: The access to the Cybereason console is provided by Cybereason and requires an account.
Setting up the Windows Virtual Machine
The table below details the steps to setting up your Virtual Machine for the Cybereason console.
| Step | Details |
|---|---|
| Download the Windows Virtual Machine image (provided for testing only). This is a 6GB download, so keep it around for future use. | https://developer.microsoft.com/en-us/microsoft-edge/tools/vms/ |
| Import the ova file into VirtualBox and before powering on the VM. Be sure to take a snapshot. This is useful if the Cybereason connector throws an error when uninstalling, so you can go to a “fresh install” state anytime. | |
| Next, boot up your VM and change the “This PC” name to something identifiable like METRON- |
|
| Next, in the VM, open up your Cybereason console (e.g. [https://integration.cybereason.net:8443/] | 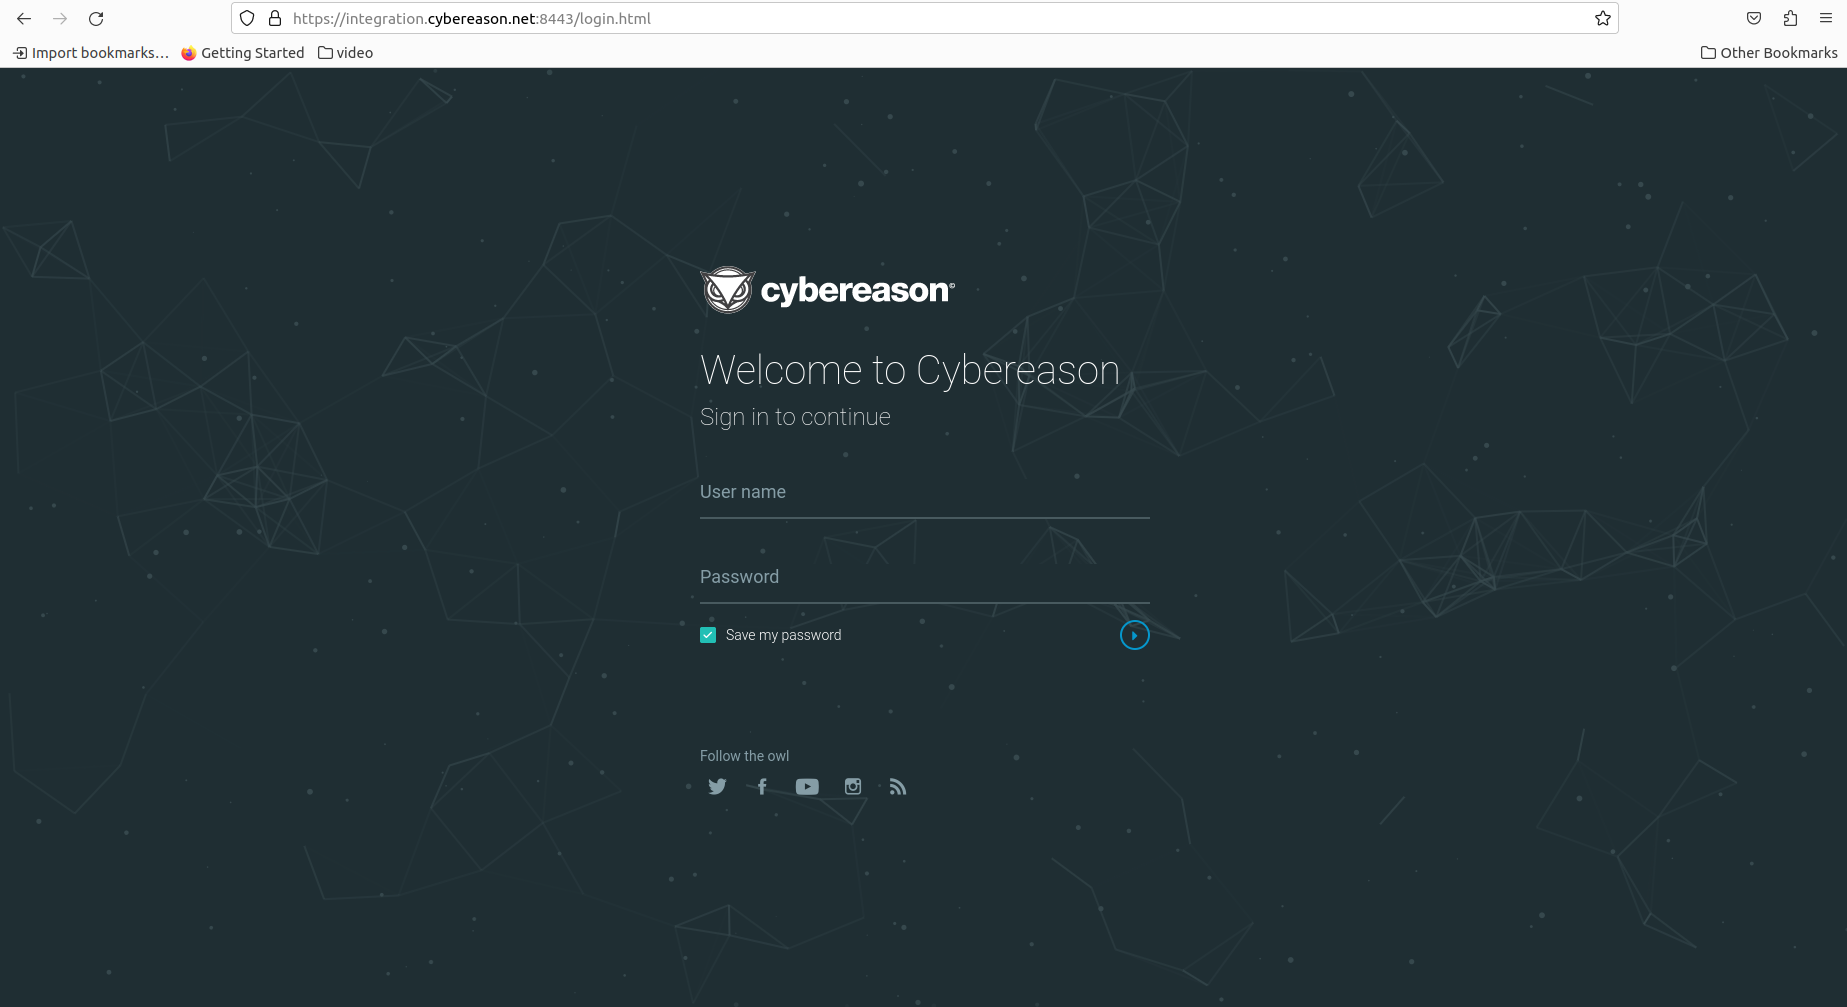 |
| After logging in, go to the left sidebar menu → Admin → system. | 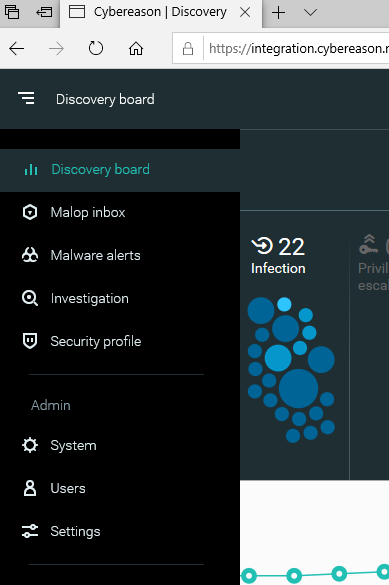 |
| In the next page, click on Download Cybereason Installers. | 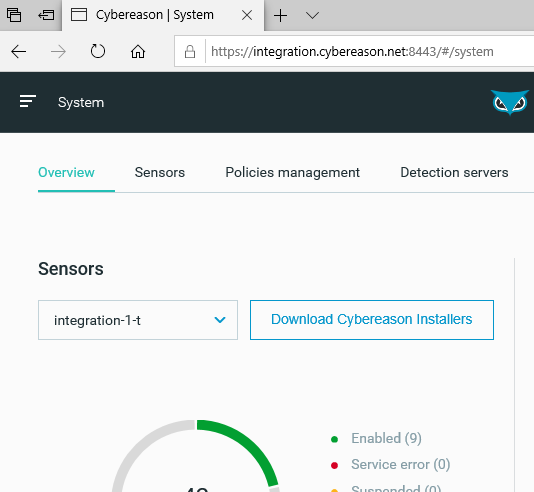 |
| Once downloaded, run the installer file. | 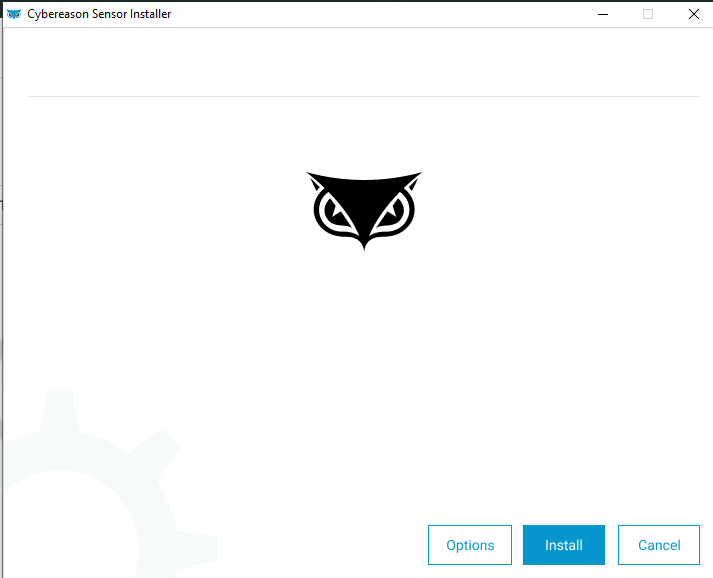 |
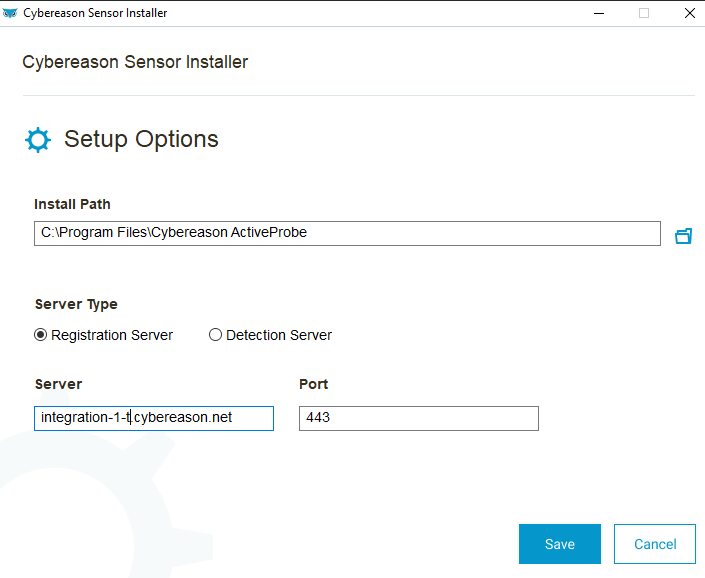
| Click Options and then: 1. Select Registration server 2. Enter the server name. In our case it is integration-1-t.cybereason.net. This server name is visible on the page where you saw the Download Cybereason Installers button. 3. Hit Save 4. Hit Install |
 |
| Wait for the Cybereason sensor to be installed on your system. Once completed, restart the VM and the Cybereason icon will show up in the system tray. | 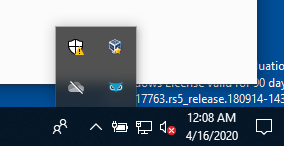 |
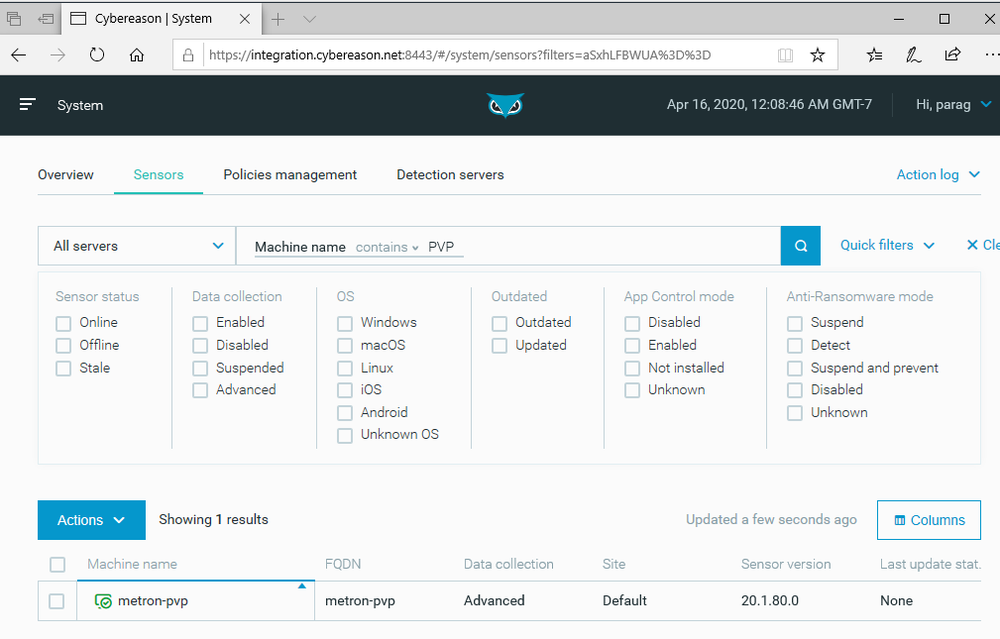
| To verify that your sensor is online, click on the “Sensors” tab in the page where you downloaded the Cybereason installers. Filter using your new machine name (in this example METRON-PVP) and you should see your machine and sensor details. |
 |
Triggering a MalOp from the VM
To begin testing and trigger malops from your VM, follow the instructions below:
- Download a small installer file such as CCleaner for FileZilla.
- In Windows Explorer, make sure that all file extensions are shown.
- Rename the file by inserting an extension. For example, rename ccsetup565.exe to ccsetup565.pdf.exe
- After 15 mins or so, this change should show up in your Cybereason console malop inbox. Be sure to sort by Last Activity time:
Triggering a malware alert from the VM
To trigger a test malware event in your VM, follow these steps:
- From inside the VM, navigate to the EICAR site https://www.eicar.org/?page_id=3950
- There, download the eicar.com file
- That's it. The downloaded file should be classified as malware and should show up in the Cybereason console malware alerts
Metron has experience integrating Cybereason with multiple security platforms. If you are considering any custom solution, please send a note to connect@metronlabs.com.

