Setting up IBM QRadar SOAR (Formerly Resilient) on a standalone VM [2023]
In the following guide, we will walk you through setting up IBM Resilient using a standalone virtual machine.
![Setting up IBM QRadar SOAR (Formerly Resilient) on a standalone VM [2023]](/content/images/size/w1200/2025/11/Setting-up-IBM-QRadar-SOAR--Formerly-Resilient---on-a-standalone-VM.png)
IBM QRadar SOAR (formerly known as Resilient) is an incident response platform that pairs well with your larger security ecosystem (especially if you are relying on SIEM and SOAR solutions such as QRadar).
In the following guide, we will walk you through setting up IBM Resilient using a standalone virtual machine.
Prerequisites
Before installing and using the resilient server, users will need:
- A PC (Host Machine, not a VM) with 16+ GB of RAM. We have tested on Ubuntu Linux 20.04LTS, but Windows should work
- Oracle VirtualBox
Installing and Configuring the server
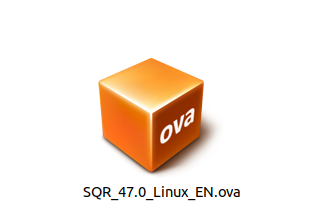
Step 1 : Download the files
Download the files from https://www.ibm.com/support/pages/ibm-security-qradar-soar-release-download-locations
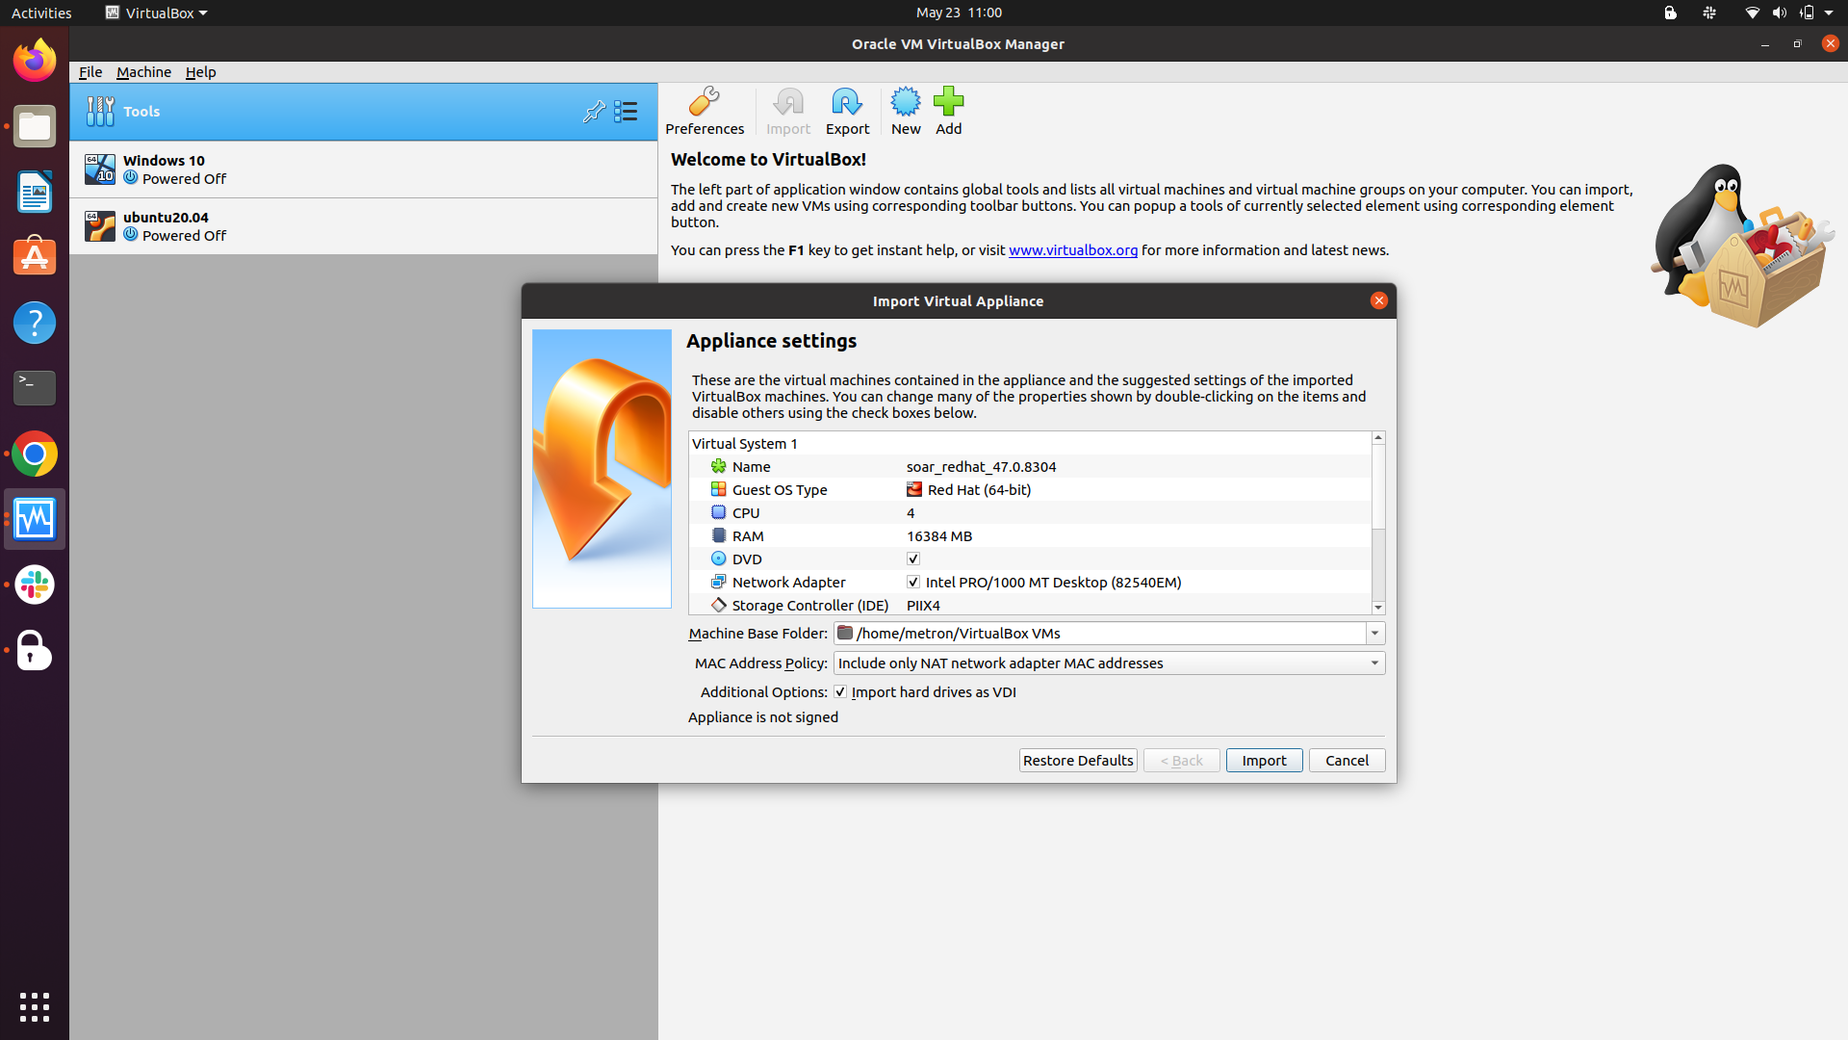
Step 2 : Import the OVA file
Double click on the OVA file and import the virtual appliance into VirtualBox. Do not change any settings.Click on import and then click on agree.
Step 3 : Start the imported VM
Start the imported virtual machine and let it install without any interaction. It will ask you to set up passwords, at that point, enter those in. Also, confirm the assigned IP address.
After that, the system will be rebooted.
Step 4 : Fetch the license key
Fetch the license key from our password manager. It is saved as “IBM Resilient License Key for 2023”. Copy the string into a text file called license-2023.key
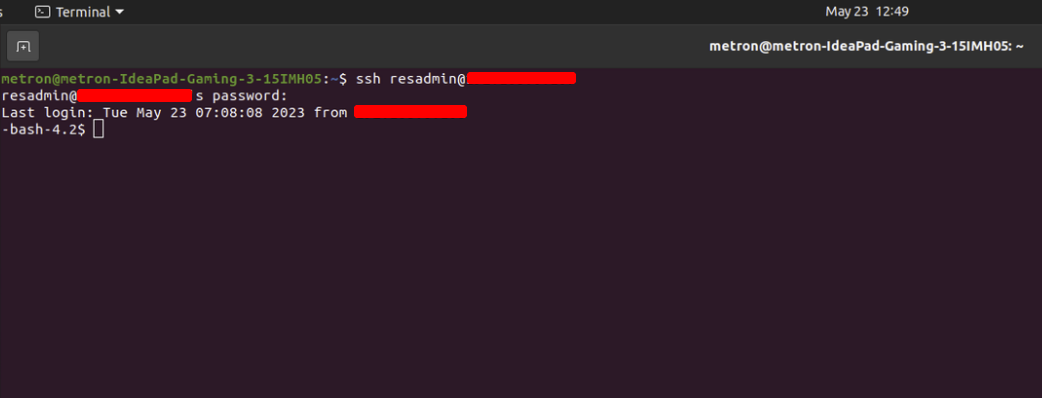
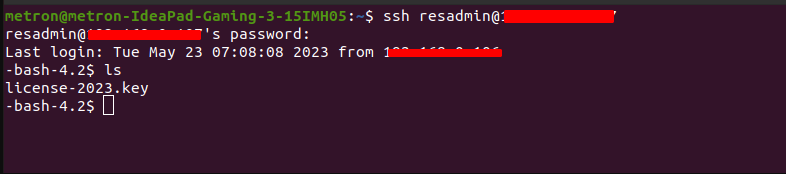
Step 5 : Connect to Resilient server
Start the VM and connect to Resilient server with following command: ssh resadmin@IP
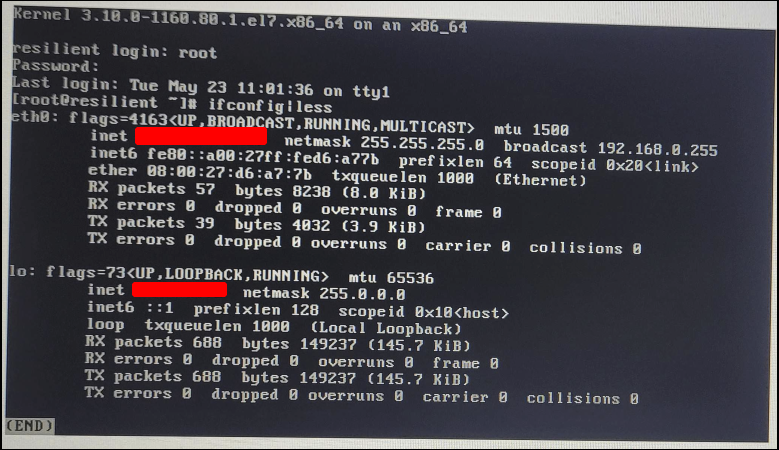
You can confirm Confirm the IP address of server with command ifconfig|less
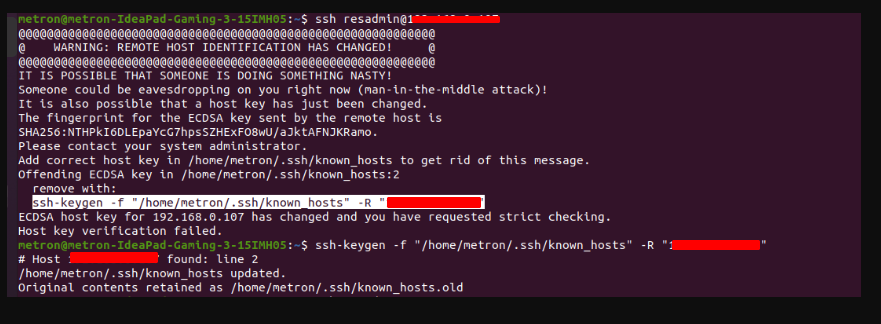
In case if Host key verification failed.
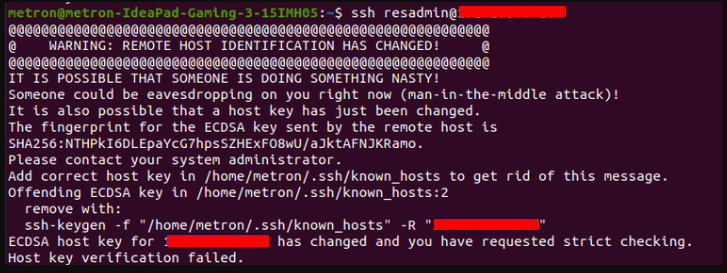
Run the command ssh-keygen -f "/home/metron/.ssh/known_hosts" -R "IP and try to connect again .
Step 6 : Copy the license file to server
Copy the license file onto the server using scp
scp ./license-2023.key resadmin@IP:~/

Now check if the file is copied in server.
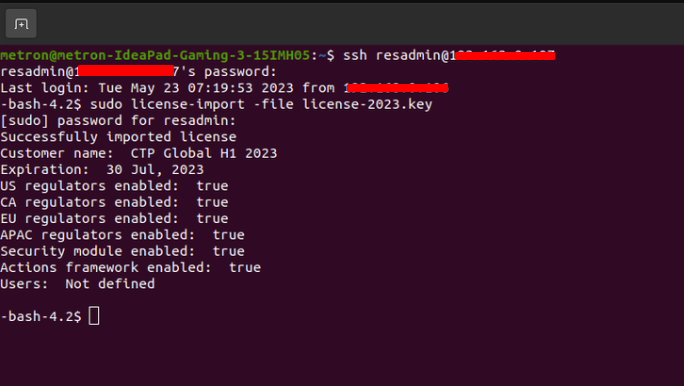
Step 7 : Import the license file
Import the license file (that you have previously copied using scp) using the command sudo license-import -file license-2023.key
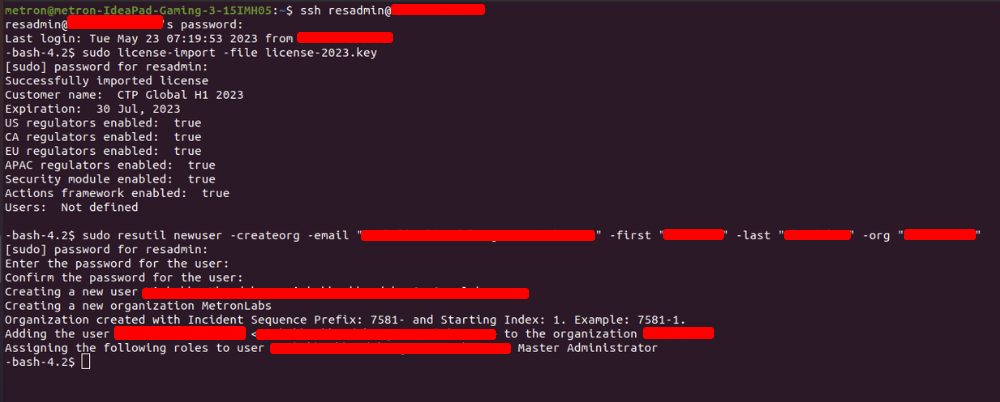
Step 8 : Create the user
Create a user that you will use to log in with the following command.
sudo resutil newuser -createorg -email "emailadress" -first "firstname" -last "lastname" -org "Organizationname"
(Note : Set a password of 15 characters)
Step 9 : Login page
Resilient installation is now complete!
Open up https://IP in a browser to see the login page.
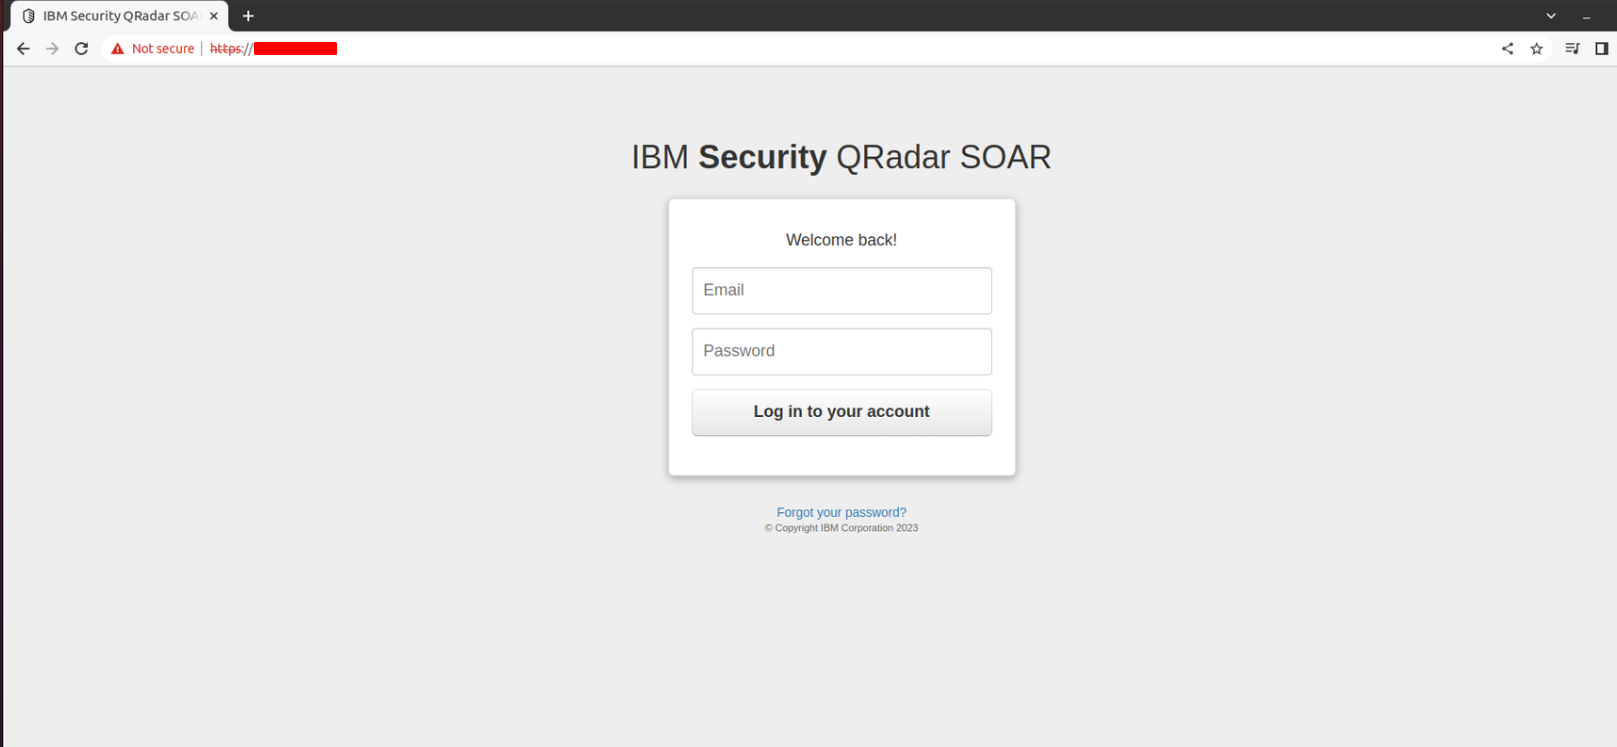
And with that you should have your IBM Resilient deployed and correct user access setup.
If you have any issues with any part of this guide, don't hesitate to reach out!
About Metron:
Metron is a trusted provider of on-demand and effective approaches to managing third-party integrations for security ecosystems. With extensive experience in delivering automation solutions for over 200 security applications, including IBM Resilient, Metron has earned the trust of numerous fast-growing security companies and managed security service providers (MSSPs).
Metron’s transparent development processes, deep understanding of security products, and fixed-cost model have resulted in shorter development times and significant cost savings for clients compared to deploying internal engineering teams for similar tasks. Headquartered in Novato, CA, with development offices in Bangalore and Pune, India.
Connect with Metron at connect@metronlabs.com.