Installing IBM QRadar Community Edition Locally
IBM Security QRadar Community Edition (CE) is a free and full-featured - albeit lighter -version of QRadar based on version V7.3.3. This edition is also specifically designed for students, app developers, and security professionals in need of a testing environment
IBM Security QRadar Community Edition (CE) is a free and full-featured - albeit lighter -version of QRadar based on version V7.3.3. This edition is also specifically designed for students, app developers, and security professionals in need of a testing environment. You can download your version from the website.
When setting up your test environment, bear in that your license has several limitations that would make it impractical for your live production environment:
- 50 events per second
- 5,000 network flows a minute
- Fewer supported apps and integrations
- Cannot be installed in a Docker container
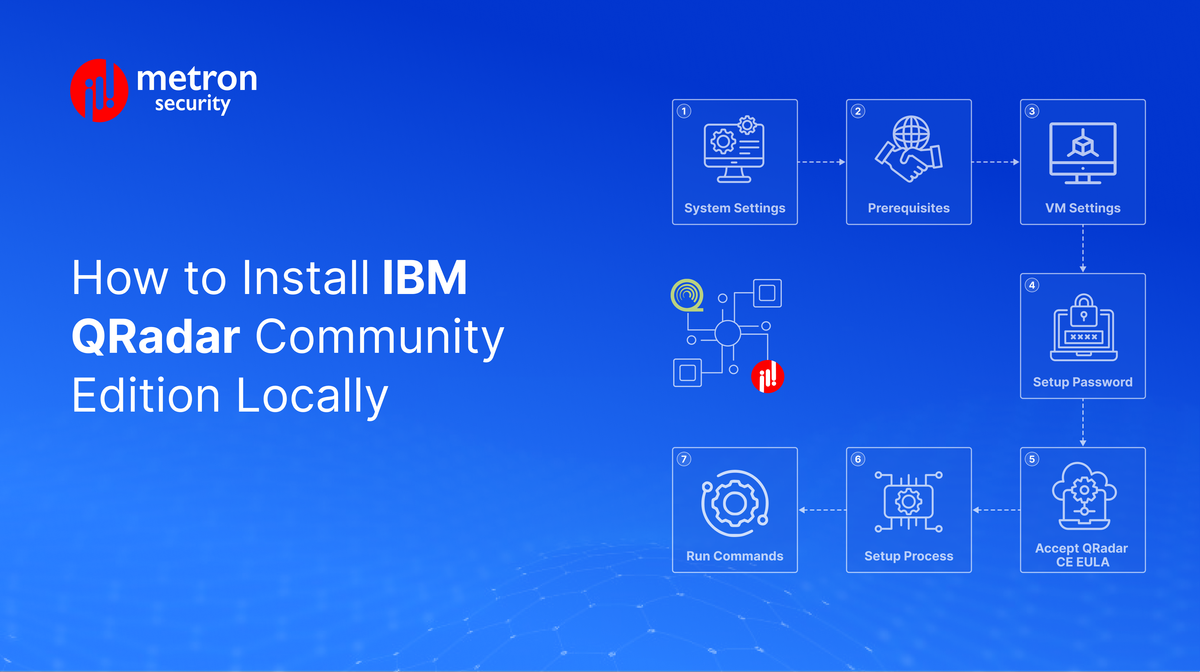
Installing QRadar Community Edition
- Download the QRadar CE OVA file from https://developer.ibm.com/
2. Double click on the downloaded OVA file. It should open in VirtualBox or any other Virtual machine by default.

3. Setup the prerequisites by changing the VM setting
4. Go to VM settings and set the following things:
I) RAM: 10 to 12 GB
II) 250 GB dynamic VDI
III) 4 CPUs
IV) NAT (this is the default option) OR NatNetwork with Network CIDR as 192.168.14.0/24 (if you have a different range, you need to modify the network details accordingly during installation)
V) DHCP Support enabled
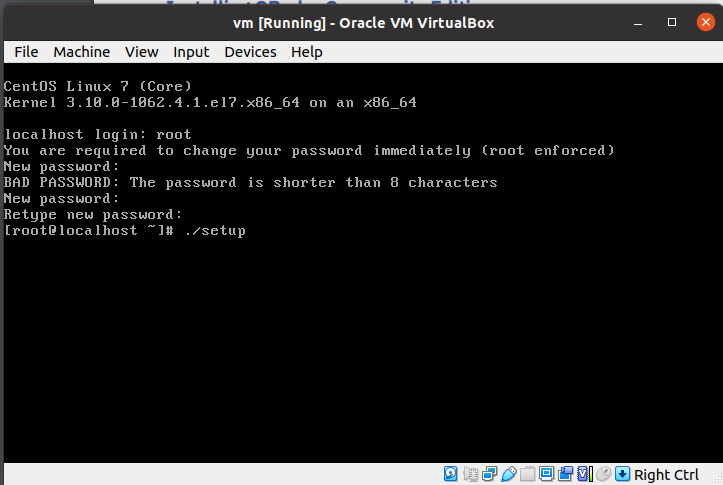
5. Start the VM and log in as the root user and enter a password
6. Begin the initiation process by entering the following command:
./setup
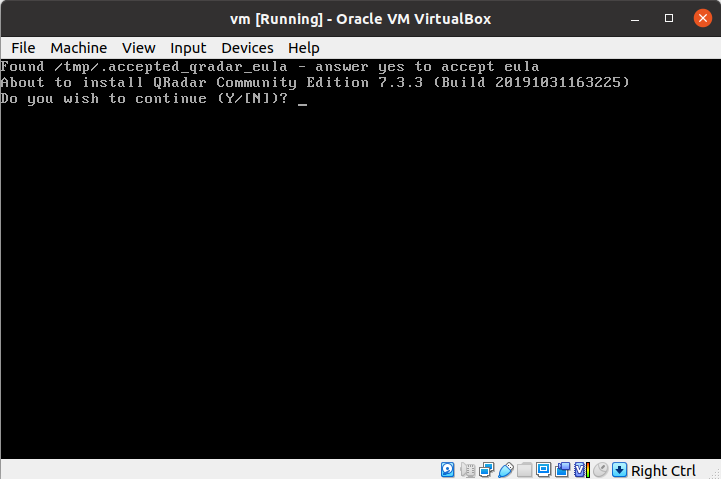
7. Hit enter to accept the CentOS EULA.
8. Scroll through with the spacebar and then enter to accept the QRader CE EULA.
9. Enter Y to continue the setup process.
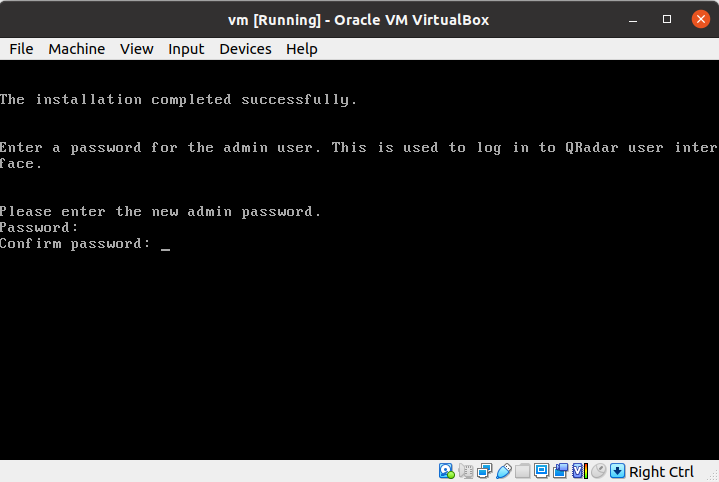
10. Select a password for the admin account.
11. Restart the application using the command:
Reboot
12. Run the following command to check the IP of the installed QRadar CE:
Ifconfig|less

13. Log into QRadar CE using your admin credentials and then accept the EULA. You can access this by going to the following address in your browser:
https://<ip_address>/console
Alternatively, if you are using a local virtual machine, you can use the following address in your web browser: https://<ip_address>:8444/console.
Pulling in Events
To pull events from software, devices, and other integrations that are not part of the default QRadar CE installation, you will need to install a Device Support Module (DSM). This module can parse received events from various log sources and display them as output.
Note that only a few DSMs are included by default in the QRadar CE edition, but others can be added.
To set up your DSM, follow these steps:
1. Mount the QRadar CE ISO with the command:
sudo mount -o loop /opt/ibm/cloud/iso/QRadarCE2019.14.0.20191031163225.GA.iso /media/cdrom
2. Head to /media/cdrom/post/dsmrpms and enter the command:
cd /media/cdrom/post/dsmrpms
3. Enter the following command where <rpm_filename> is the name of the DSM you are installing:
yum -y install <rpm_filename>
4. Log into QRadar CE with your credentials.
5. In the Admin tab, click Deploy Changes.
6. Select Advanced > Restart Web Server.
Your installation should now be ready to collect events from the apps or services you are troubleshooting.
Metron has experience integrating QRadar with multiple security platforms. If you are considering any custom solution, please send a note to connect@metronlabs.com.