How to Configure and Install AttackIQ on Linux and Windows
In the following blog post, we detail how to configure AttackIQ on a Linux machine as well as set up Agents on Windows.
AttackIQ is a leading security solutions provider. Their Security Optimization Platform provides real-time, data-driven visibility into your security operations and potential vulnerabilities. With stronger, threat-informed defenses, it allows your organisation to become more proactive and collaborative in tackling potential threats.
In the following blog post, we detail how to configure AttackIQ on a Linux machine as well as set up Agents on Windows.
How to Configure AttackIQ on a Linux Machine
To begin, start by creating a Linux Virtual Machine (VM) or an Amazon Web Service (AWS) instance that will be used to host the integration.
Note: If needed, you can use a 4 GB RAM instance with 2 processors on AWS.
In order to set up the integration, please run the following commands:
- sudo bash -c export firedrill_server_url=https://firedrill.attackiq.com
- export auth_token=<your auth token>
- export verify_ssl=False
- export heartbeat=120
- export proxy_enabled=False;
- curl -k -L https://firedrill.attackiq.com/downloads/connector_managers/<guid>/plugin_manager.3.10.1.tar.gz -H "Authorization: Token $auth_token" --output plugin_manager.3.10.1.tar.gz;
- tar zxf plugin_manager.3.10.1.tar.gz
- cd plugin_manager
- ./install.sh --address $firedrill_server_url --verify $verify_ssl --token $auth_token --heartbeat $heartbeat --proxy_enabled $proxy_enabled
- cd ..
- rm -r plugin_manager/
- rm plugin_manager.3.10.1.tar.gz
Now, after having completed those commands above, you can see if the server is live or not through the integration manager in the AttackIQ portal.

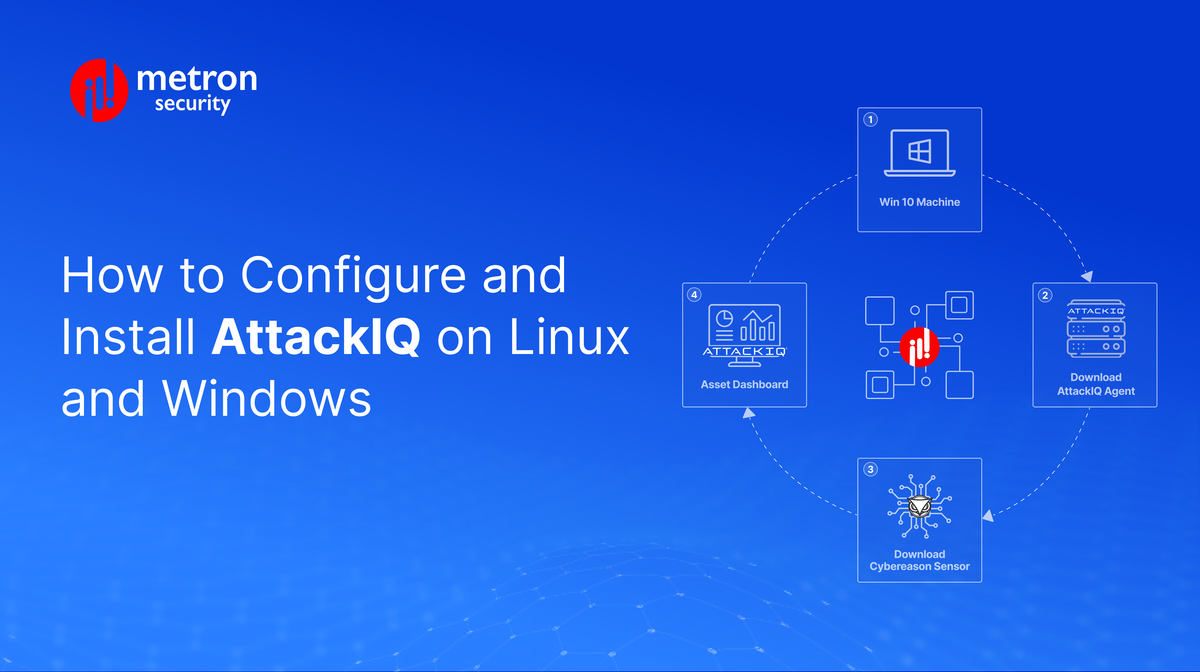
Configuring AttackIQ Agents on Windows
After the initial server configurations on your Linux machine or VM, you can proceed to set up and configure your agents through Windows.
- Create a Windows 10 machine on AWS or a VM with 4GB RAM and 2 processors
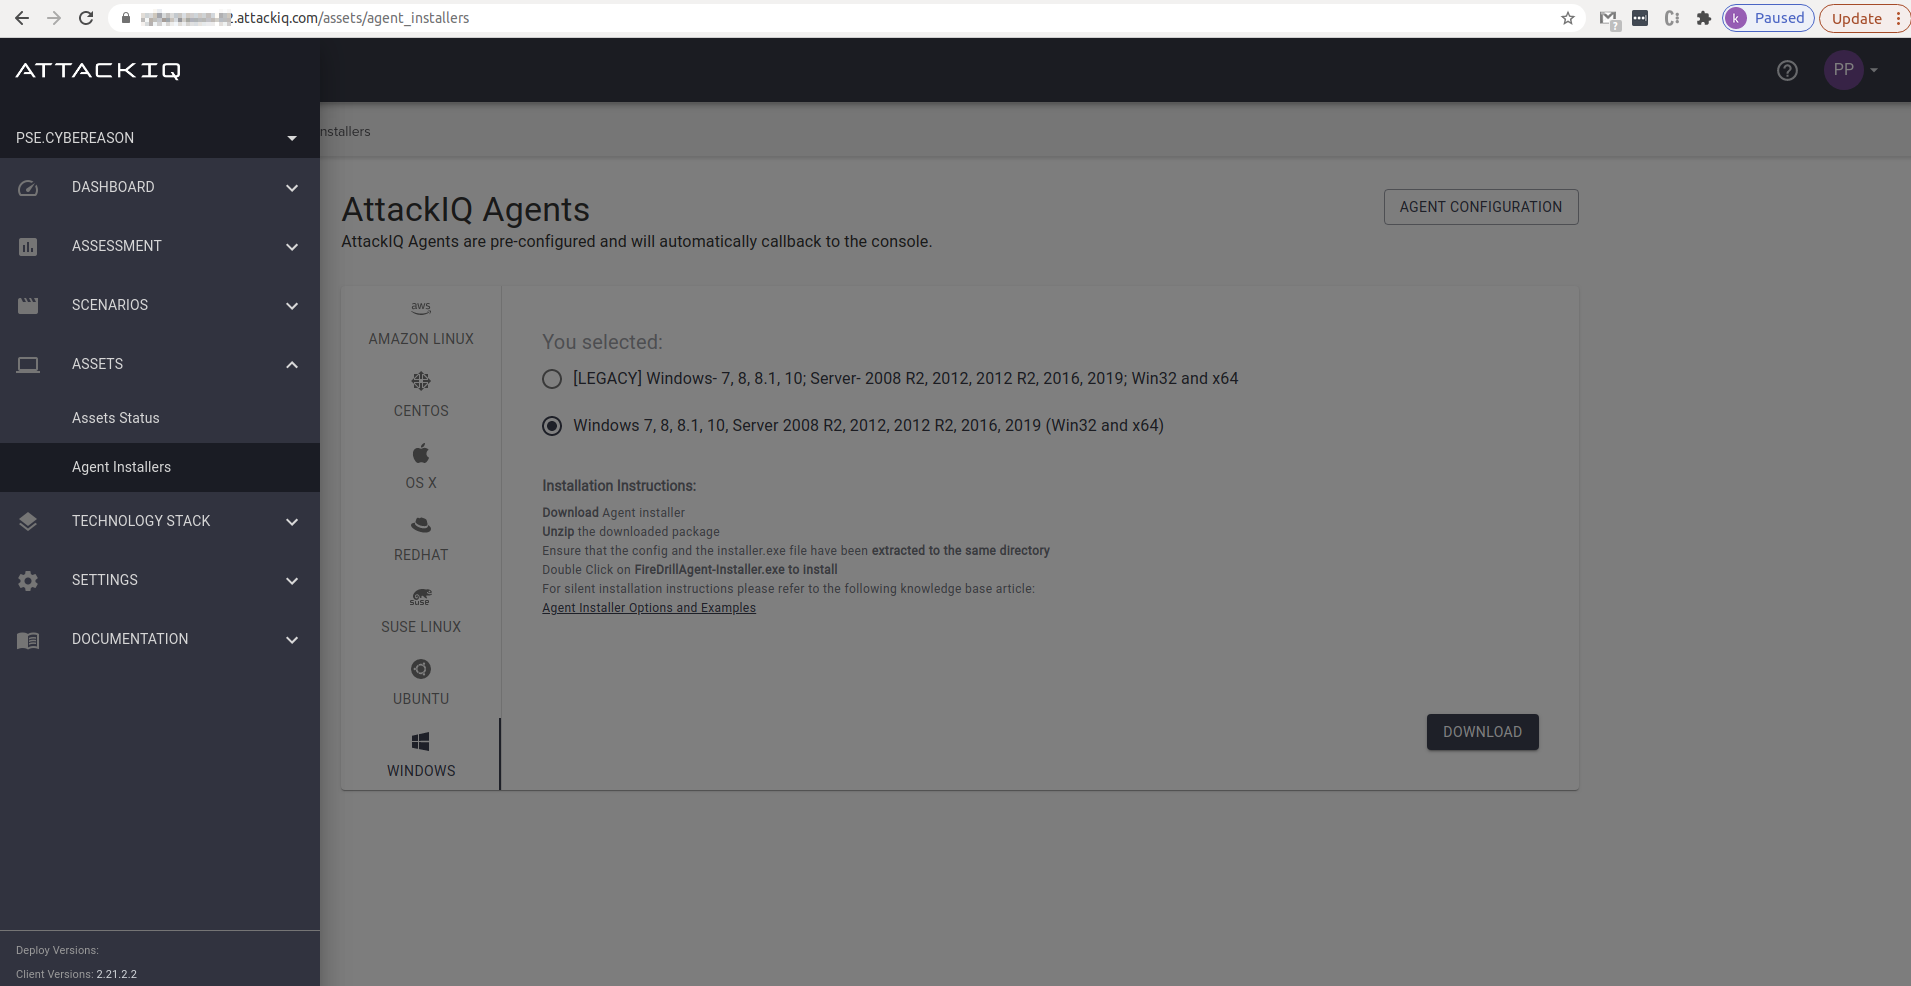
2. Log into the AttackIQ portal and navigate to Assets → Agent Installerand download the AttackIQ agent.
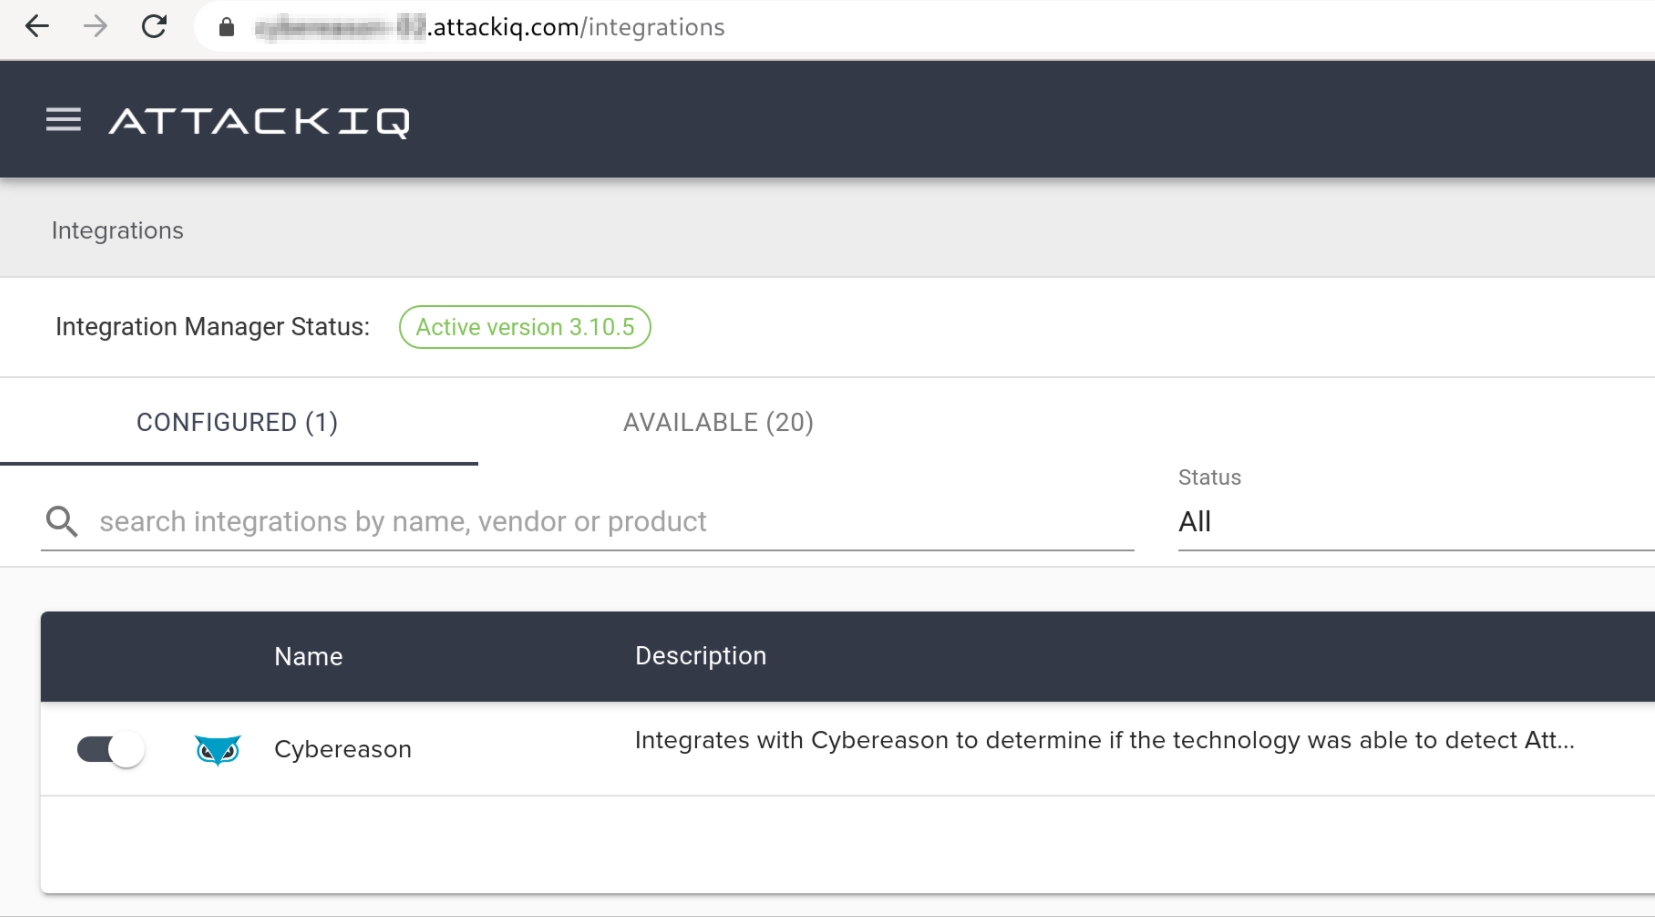
3. Log into the Cybereason portal and download the Cybereason sensor.
4. AttackIQ can appear live on the Asset Dashboard. Similarly, the Cybereason sensor can be appear live on the right hand corner status bar of the windows machine.
Now, you should be all set for future tests and better defenses.
Kapil Bisen is the Director of Engineering at Metron Labs. He enjoys weekend tennis and finely crafted beers.
Considering installing AttackIQ but not sure where to go from here? Metron has experience integrating multiple security platforms, technologies and tools. If you are considering any custom cybersecurity solution that focuses on the resources and needs of your organisation, please send a note to connect@metronlabs.com.