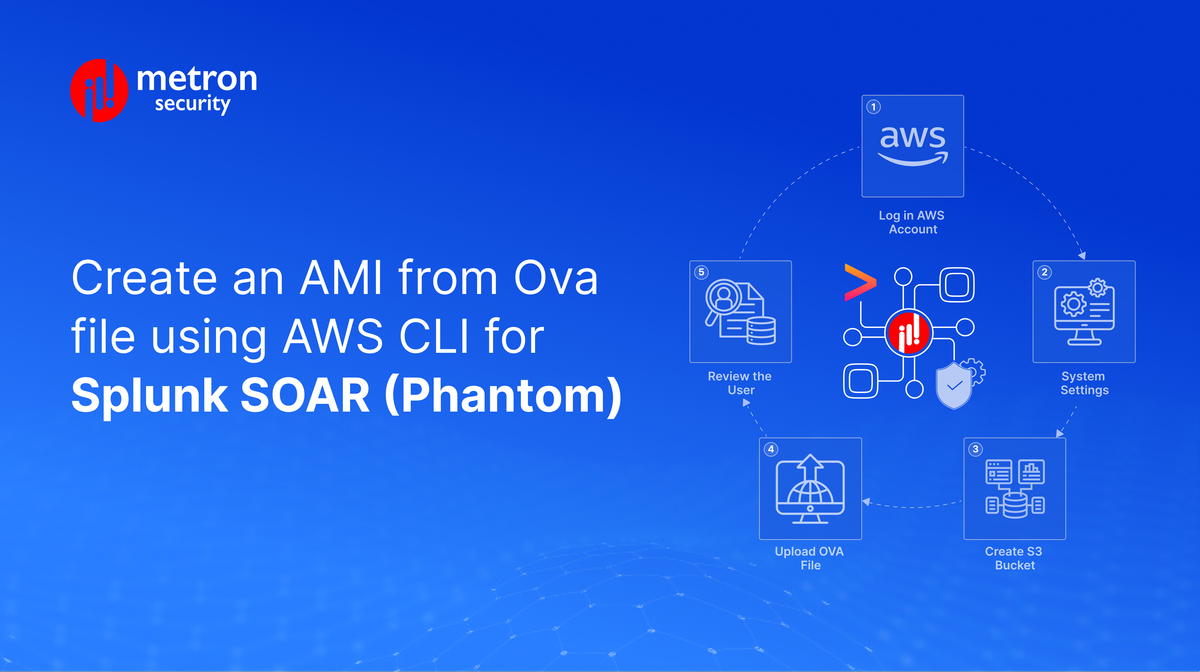
Create an AMI from Ova file using AWS CLI for Splunk SOAR (Phantom)
Are you having issues troubleshooting or setting up your AWS platform? In the following article, we'll walk you through creating an IAM for Splunk-SOAR from an ova file using Amazon Web Services (AWS).
Splunk SOAR is a valuable component in many security ecosystems, particularly for enterprises that have moved beyond manual detection and are now working with more advanced playbooks and processes.
Of course, to get there, you'll need to not only deploy Splunk SOAR into your infrastructure but troubleshoot and ensure that it is set up without any hitches as you prepare to integrate it with your other apps.
In the following article, we'll walk you through creating an IAM for Splunk-SOAR from an ova file using Amazon Web Services (AWS).
Create an IAM user
The steps below detail how you can start by setting up an IAM user in your AWS account:
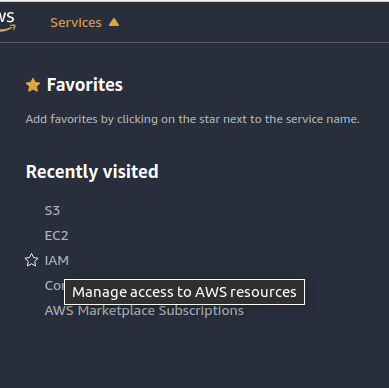
- Login in to the AWS account
- Go to service and select S3, go to create bucket and give it a unique name
- Select closest region and let all the options be default and hit ‘create bucket’
- Once the bucket is created, hit ‘Upload’ button, go to ‘File’ and upload your .ova file on the S3 bucket
- Click on the
users

- Click on
Add user

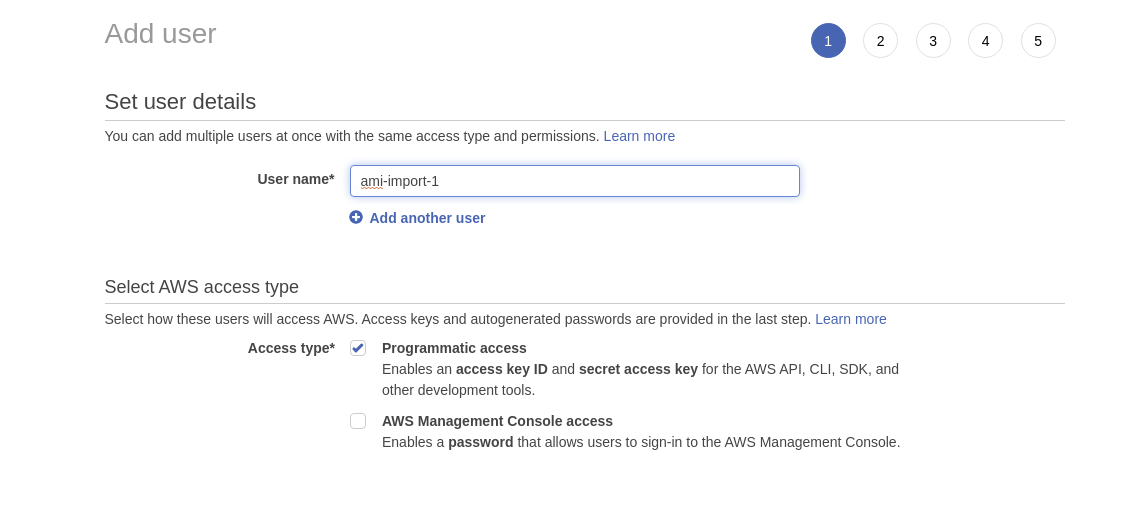
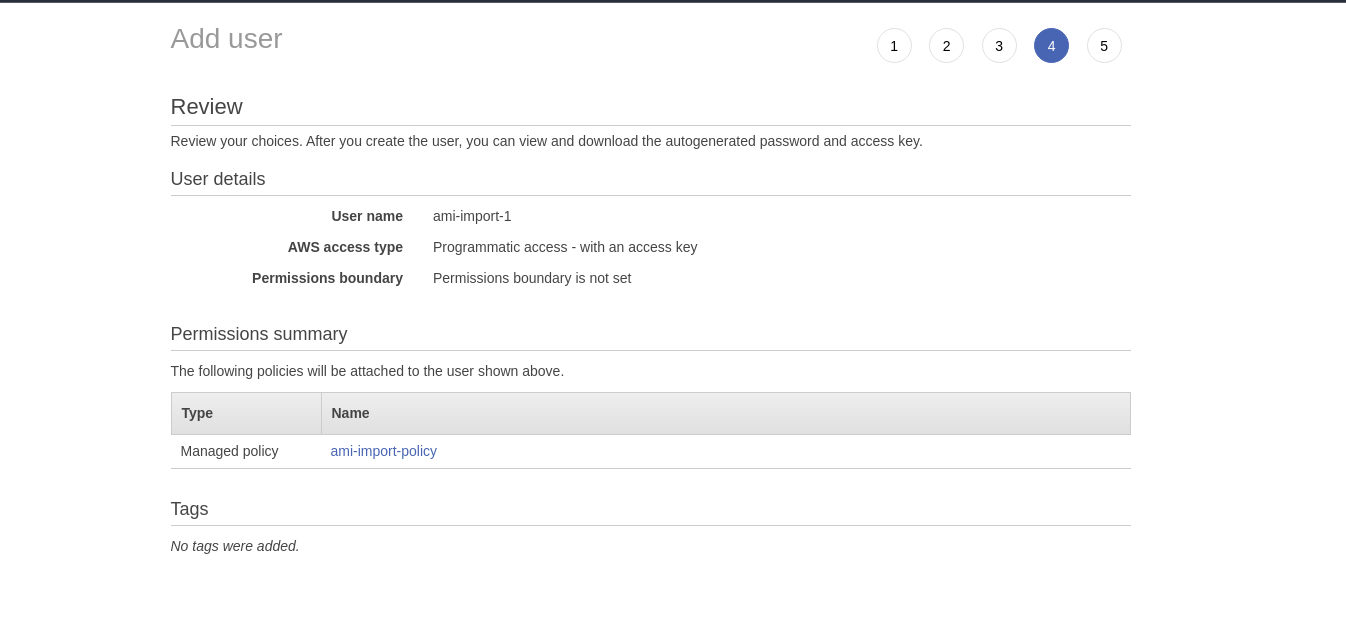
- Give User name* and allow Programmatic Access* in Access type* and click on Next*
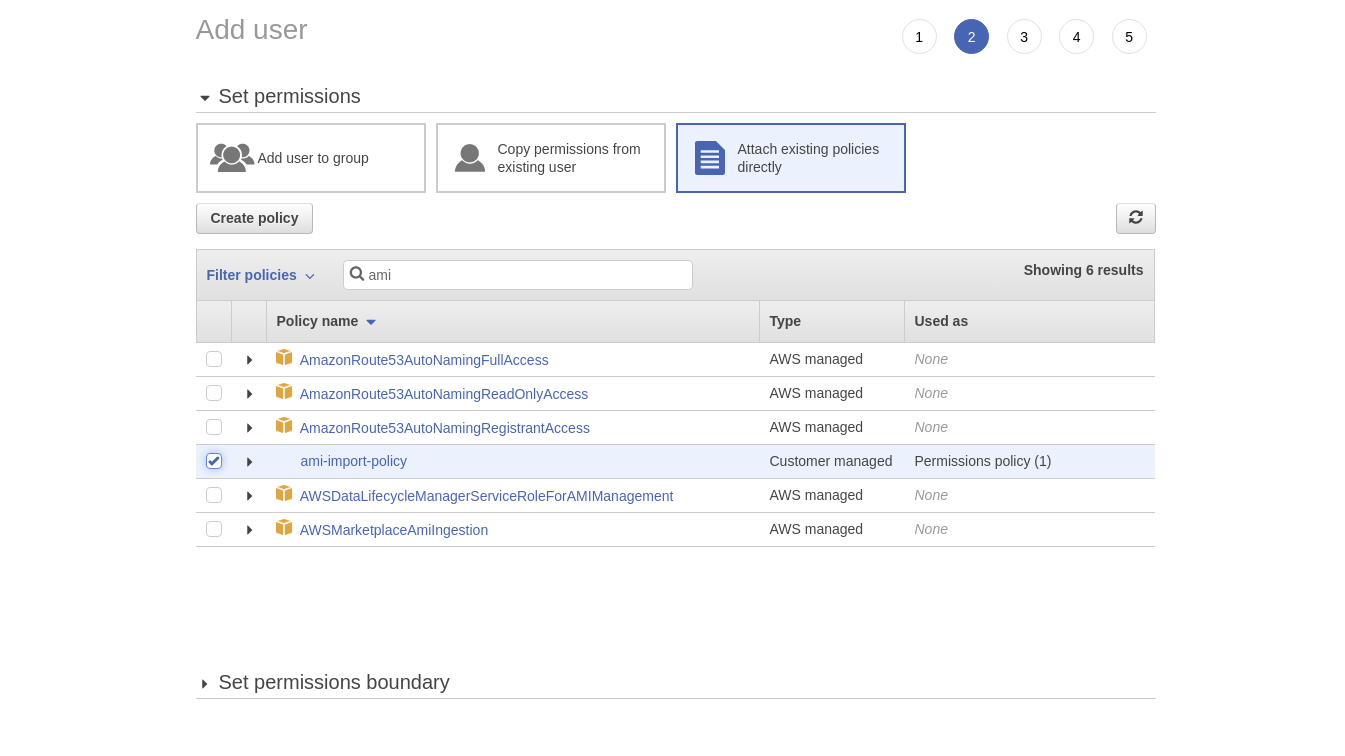
- Click on Attach existing policies directly*
- under filter policies* search for ami* and check on * ami-import-policy
- Skip the next step of adding tags
- Review the user and create it
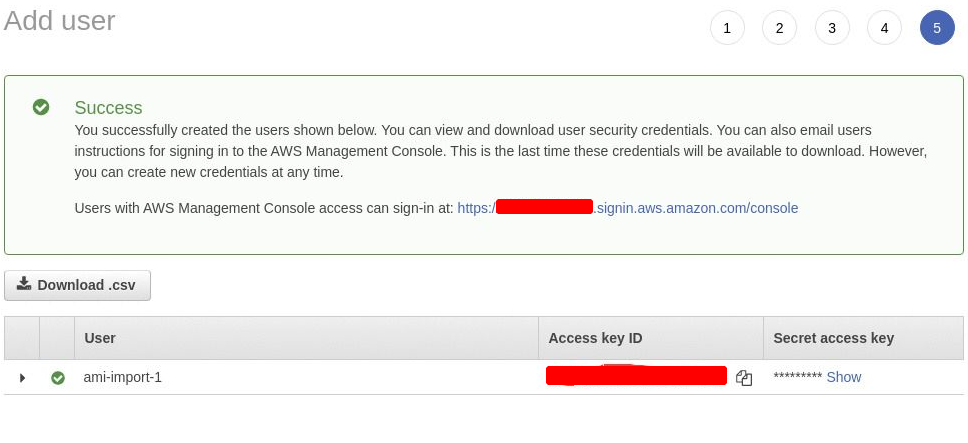
- Copy the key and secret for the user and save it separately
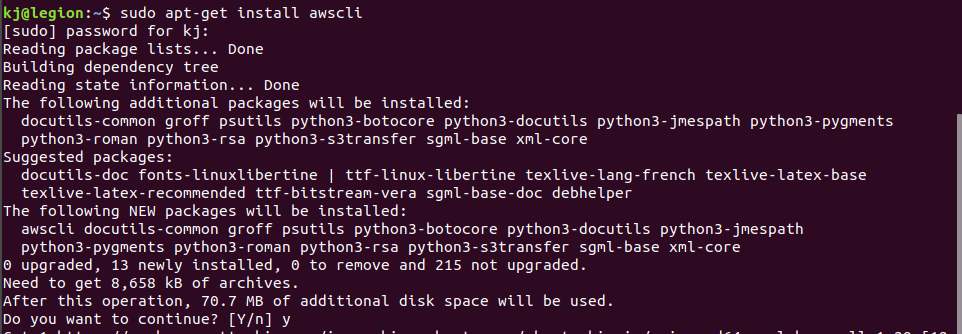
Install AWS-cli on your host machine
Next, we detail setting up the AWS-cli on your host machine.
- Install aws-cli
- Install Python virtual env (optional) but Python needs to be installed on the machine
- Configure you aws-cli
- Type
aws configureand add the access key id and secret that has been copied while creating IAM user (two steps above) - Create three files as below:
a. trust-policy.json
b. role-policy.json
c. containers.json
The content of the three files is pasted at the end of this document.

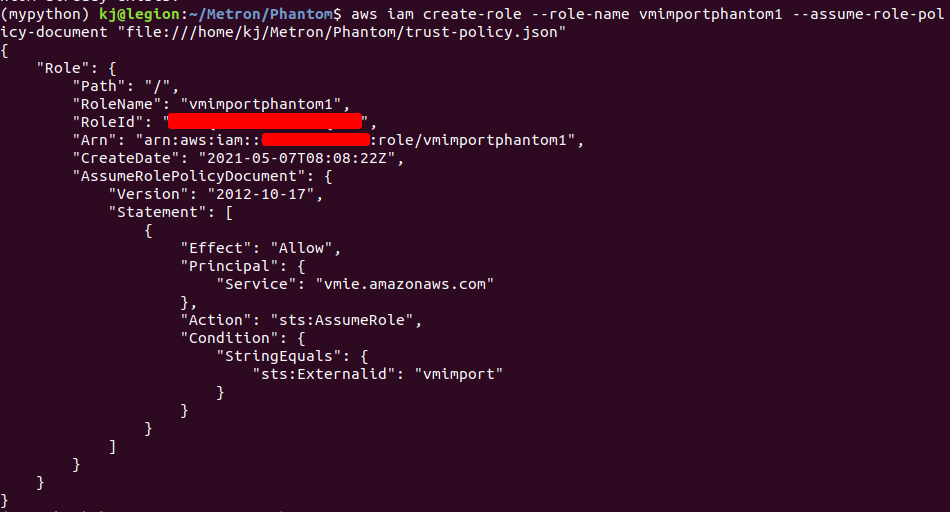
- Create trust-policy.json with the command below:
aws iam create-role --role-name vmimportphantom1 --assume-role- policy-document "file:///home/kj/Metron/Phantom/trust-policy.json"
In the above command vmimportphantom1 is the name you are assigning to the policy.
- Put role-policy.json with the command below:
aws iam put-role-policy --role-name vmimport --policy-name vmimport --policy-document "file:///home/kj/Metron/Phantom/role-policy.json"

- Run the container.json to convert the ova file to AMI:
aws ec2 import-image --description "Phantom" --disk-containers file:///home/kj/Metron/Phantom/containers.json
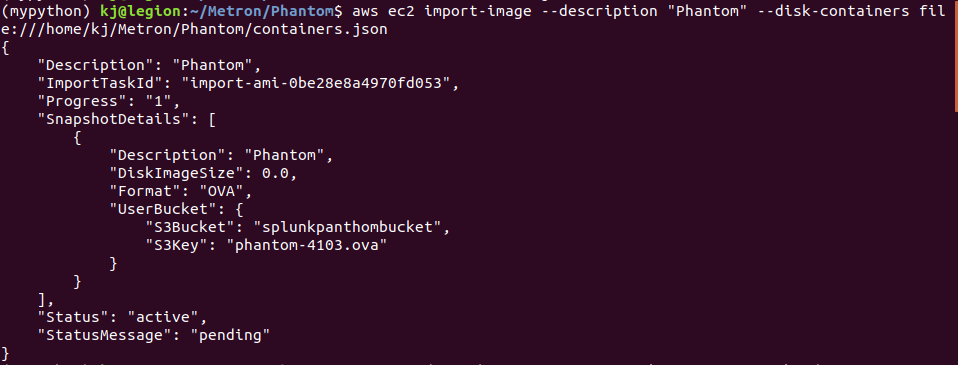
- Check the status of the conversion. It should show completed in the
statusMessage.
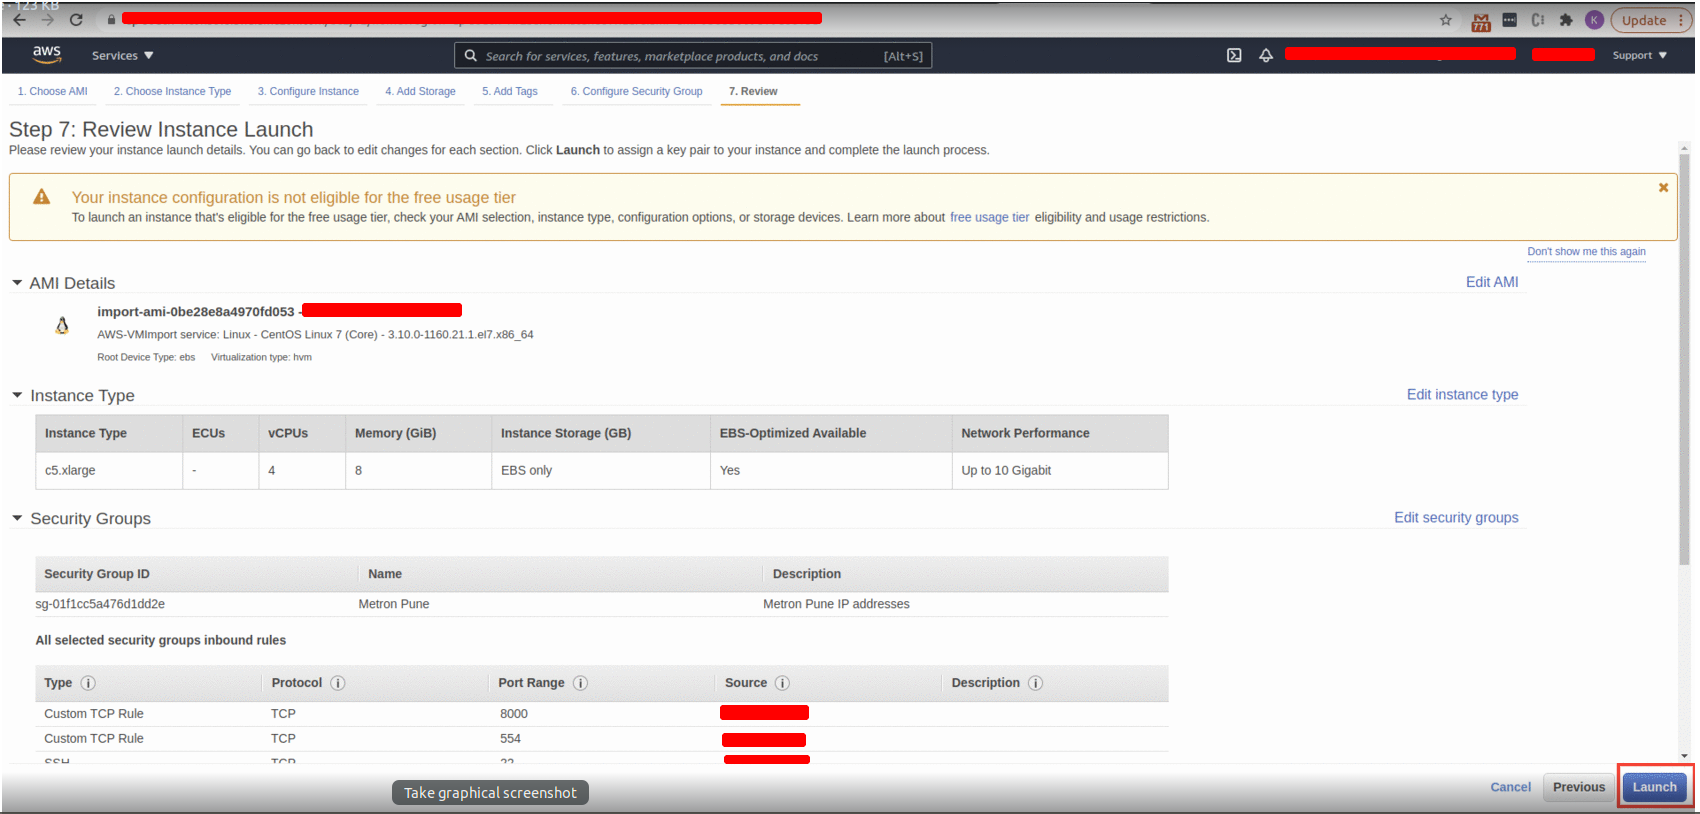
Create Instance from AMI
- Login in to you EC2 account
- Navigate AMI
- And select the AMI that is created
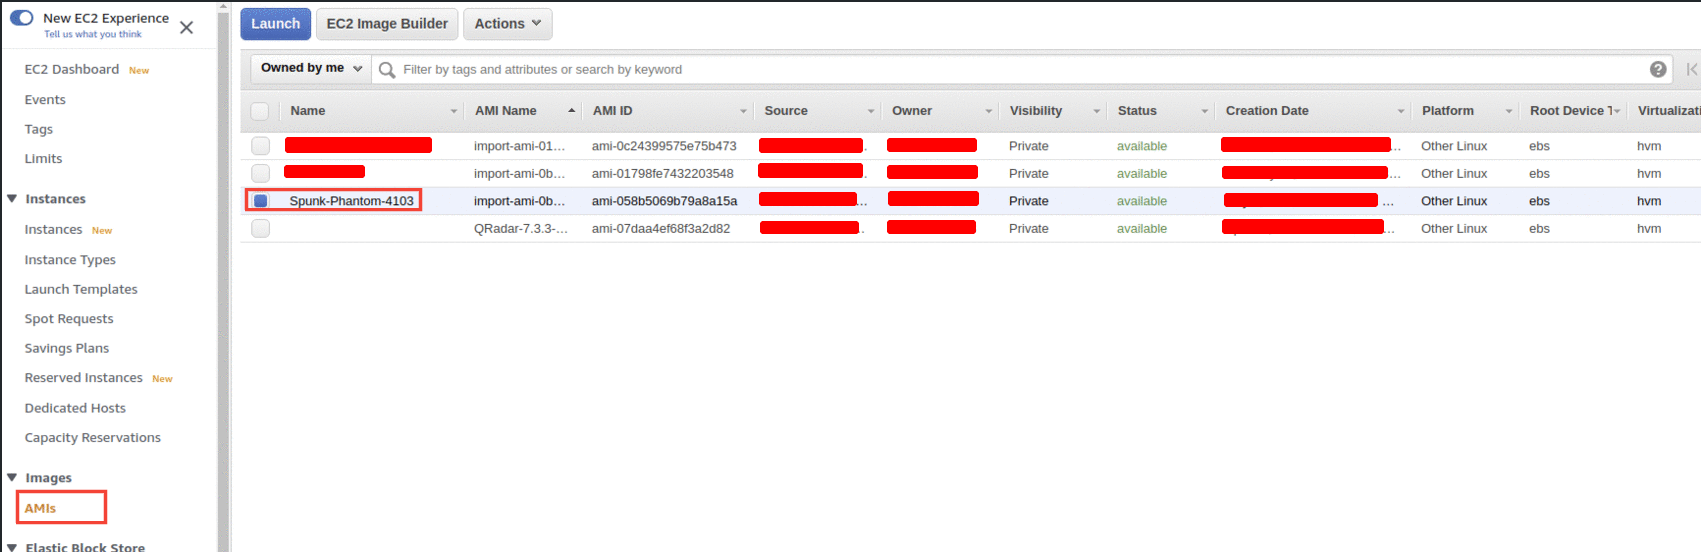
- Navigate to
Actionbutton - Launch the instance

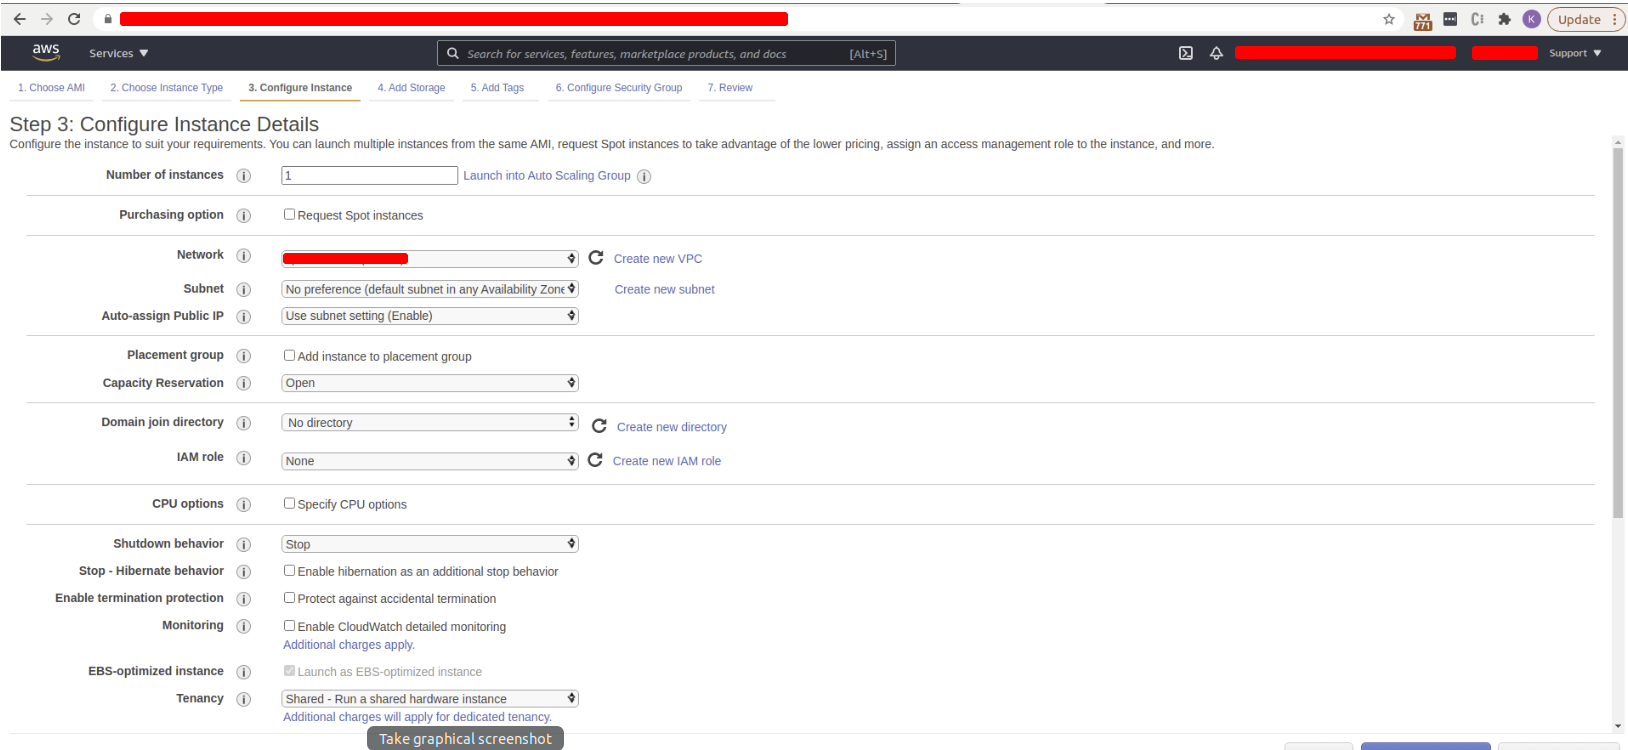
- After launching you will be redirected to Choose an Instance Type* to create the instance with the AMI
- Select c5x.large with 4 procs and 8 GB RAM

- Configure your instance
- ** Select a spot instance if you are going to use this installation for internal use for clients do not check the spot instance
- Add Storage

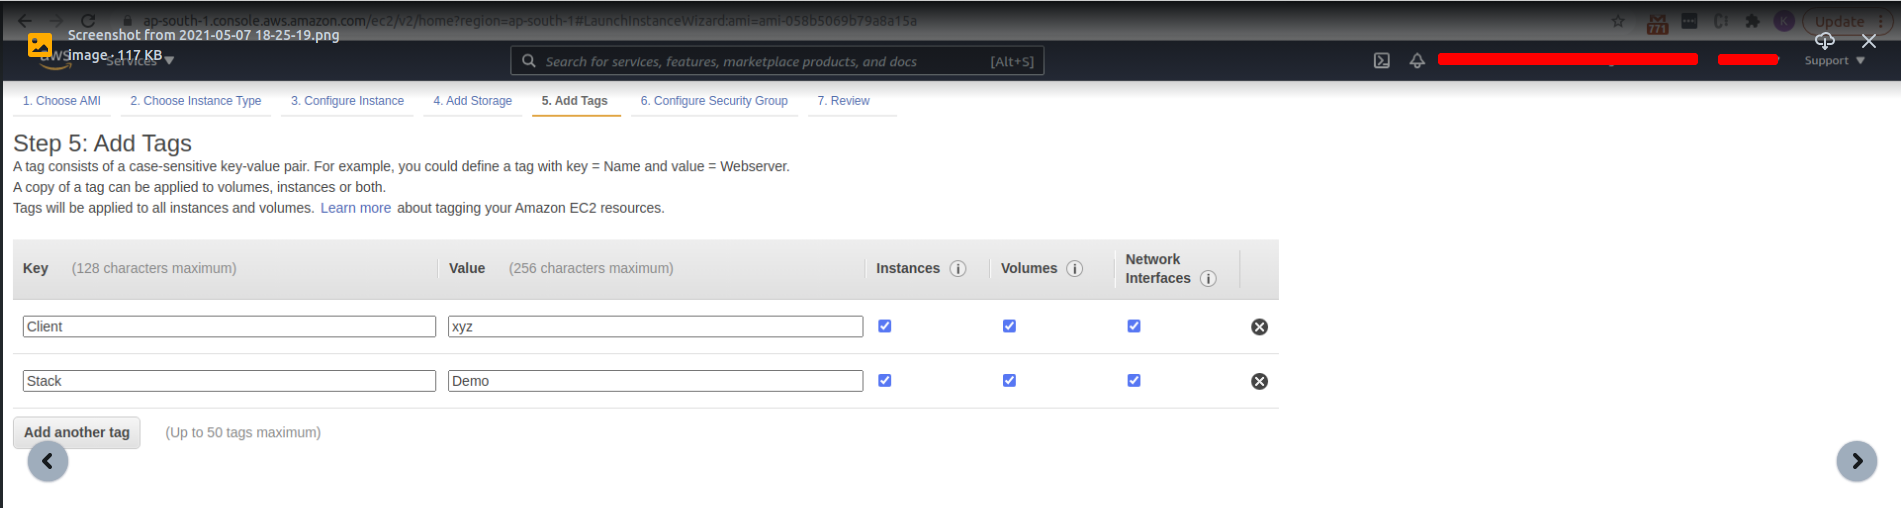
- Add Tags
- Select Security and existing Security Group
- ** To later access the instance modify/edit the Inbound Rules* of the security group, change the ssh and https entry to My IP*
- Review and launch
- After the instance is launched, navigate to instances and check your instance
- Open the public IP in the browser and the Splunk-Phantom UI will open
- Login in to it to access Splunk SOAR (Phantom)
At this point, if you were able to follow the steps without issues, your installation of Splunk SOAR should be complete with access setup for your initial users.
If anything went wrong or seemed amiss during your deployment process, don't hesitate to reach out to us - we'd be more than happy to help access or troubleshoot any issues that might have occurred.
About Metron
Metron is a trusted provider of on-demand and effective approaches to managing third-party integrations for security ecosystems. With extensive experience in delivering automation solutions for over 200 security applications, Metron has earned the trust of numerous fast-growing security companies and managed security service providers (MSSPs).
Metron’s transparent development processes, deep understanding of security products, and fixed-cost model have resulted in shorter development times and significant cost savings for clients compared to deploying internal engineering teams for similar tasks. Headquartered in Novato, CA, with development offices in Bangalore and Pune, India, you can connect with Metron at connect@metronlabs.com.